
How to Install Sparklight Internet Yourself
If you’re getting ready to move to a new location, or just want a better deal on home Internet, you may be considering Sparklight service. Sparklight’s self-install kit is a convenient way to set up your service on your schedule, so you don’t need to plan around a technician visit. Here’s everything you need to know to handle it yourself, step by step.
Get Connected
Enter the address where you'd like your Internet service.
Before You Get Started
Self-installation is a free and convenient way for Sparklight customers to get their Internet service up and running. However, it’s important to keep in mind that the process involves setting up physical elements while relying on phone support for help, rather than a self-guided app experience. Once your equipment arrives, you’ll connect your modem, activate it through a web browser, and then reach out to customer support if you get stuck.
What’s in the Sparklight Self-Install Kit
Your Sparklight self-install kit includes the elements you need to get started:
- Modem: Connects your home to Sparklight’s network.
- Power cord: Powers your modem.
- Modem stand: Keeps your modem upright for proper ventilation.
- Coaxial cable: Connects your modem to the wall outlet.
- Ethernet cable: Connects your modem to a computer during activation, or to a router if you’re using one.
- Welcome letter: Your account number and activation instructions will be included here.
- Installation guide: Step-by-step and model-specific setup instructions.
If you’re bundling Internet with Sparklight Voice, your kit will also include a phone cable.
What You’ll Need to Supply to DIY
Sparklight’s kit covers your equipment, but there are a few things you’ll want to have ready:
- A laptop or desktop with a web browser (recommended), or a smartphone or tablet if that’s not available.
- An active cable outlet near where you’ll place your modem.
- A nearby electrical outlet.
- Your Sparklight account number and PIN, both found on your welcome letter or billing statement.
- Your Wi-Fi-enabled devices, ready to be connected once setup is complete.
Confirm Your Setup Readiness
Most Sparklight customers finish self-installation in 20-30 minutes, including the time your modem needs to come online. Before you begin, confirm your service start date has already passed and pick a central, elevated spot in your home for your modem. This optimal location should be visible, off the floor, and away from thick walls, microwaves, baby monitors, and other electronics that can interfere with the Wi-Fi signal.
If your home includes gamers or you plan on heavy streaming, you may want to connect a router for a stronger Wi-Fi network, and think about a wired Ethernet connection for the devices that need the most consistent speeds.
Your Installation Options
Sparklight offers a choice between DIYing your Internet setup or having a technician visit your home.
Self-Install
Self-installation is a popular choice for Sparklight customers who don’t want to wait around for an appointment window. Sparklight provides everything needed for installation, including guides, video walkthroughs, and round-the-clock phone support. The trade-off is that it’s a much more hands-on process than some other providers. If you aren’t comfortable hooking up cables and connecting equipment, or if your home has never been wired for cable, expect the process to take a little longer or consider calling in a professional.
Professional Installation
If you live in an older home that was never set up for cable, or a brand new home that didn’t have coaxial outlets installed, you may need to request a technician appointment. Plus, not every home qualifies for self-install so professional installation may be your only choice. The downside is booking an appointment window and planning your schedule around the technician’s. In most cases, there will also be an installation fee. However, the upside is that a qualified technician will handle all the wiring, help activate your service, and confirm that everything is working as it should before they leave.
How to Install Sparklight Internet
These steps reflect Sparklight’s standard modem setup. Depending on the equipment included in your plan, your exact steps may vary slightly. The Sparklight installation guide and modem guide included in your kit will confirm all the details for your device.
-
Step 1: Connect your Coaxial Cable
-
Step 2: Power on Your Modem
-
Step 3: Connect Your Router
-
Step 4: Activate Your Service
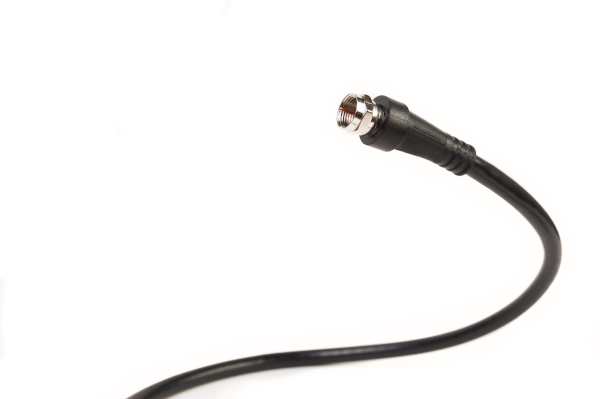
Step 1: Connect your Coaxial Cable
Step 2: Power on Your Modem
Step 3: Connect Your Router

Step 4: Activate Your Service
How to Set Up Your Sparklight Wi-Fi Network
Once your modem is active, connecting your home network only takes a few steps:
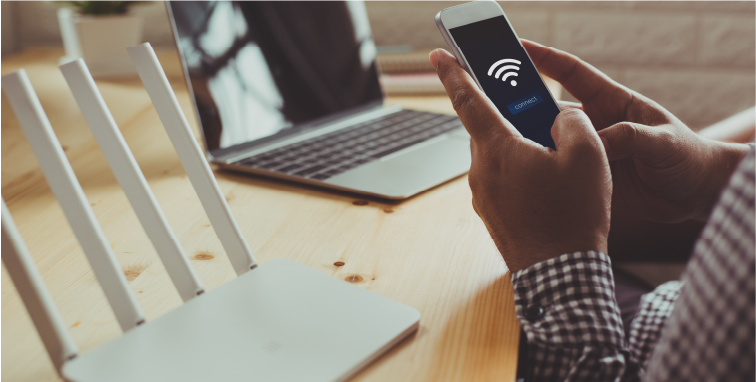
Find your Wi-Fi name and password

Connect all devices
Customize your network settings

Within 24 hours of activation, you’ll also get a browser notification to accept Sparklight’s Acceptable Use Policy. This is required in order to continue your service uninterrupted.
Setting Up Sparklight TV Service? Here’s How
Sparklight TV is an app-based streaming service rather than a traditional cable provider, so setup will happen on a device or on a browser instead of through a physical receiver.
Download the App
Download the Sparklight TV app on a supported streaming device like a smart TV, phone, tablet, or computer. You can also surf over to the Sparklight TV app in your browser. Make sure your modem or Wi-Fi network is already online before you begin.
.jpg?width=600&height=400&ext=.jpg)
Activate Your Account

Troubleshooting Common Installation Issues
Sparklight’s self-install process is straightforward for most customers, but here are some fixes for commonly reported issues.
| Issue | What to Try |
|---|---|
| Modem won’t connect | Check that your coaxial connections are tight at both the wall outlet and the modem. Unplug the modem for 30 seconds before plugging it back in. |
| No Wi-Fi network showing up | Confirm your modem’s status light isn’t blinking but is glowing solid. If you’re using a separate router, reboot it after the modem comes back online. |
| Activation isn’t completing | Confirm you’ve got the right account number and PIN. If the activation page won’t load or doesn’t recognize your equipment, call Sparklight support to complete your activation over the phone. |
| Slow speeds after installation | Move your modem to a more central and elevated location, away from walls and other electronics. Run a speed test to confirm you’re getting the speeds you’re paying for, and connect important devices directly with an Ethernet cable. |
Managing Your Sparklight Account After Installation
Once you’re connected, use the Sparklight app or your online account to manage your service plan, check your Wi-Fi settings, and pay your bill. Double-check that your plan and equipment match what’s in your service agreement, and keep an eye on your first bill for any errors or inconsistencies. If you rented your modem, be sure to keep it in good condition. Sparklight typically replaces failing rented equipment at no cost, but return any swapped items on time to avoid an unreturned equipment fee.
Sparklight Installation FAQs
Sparklight’s residential offerings reach customers across more than 20 states, with strong coverage in parts of the Midwest, Mountain West, and South. Check availability at your specific address to find all the current plans, promotions, and pricing near you.
Sparklight offers 24/7 customer support by phone or online chat. Alternatively, you can find more self-help resources on their website.