
How to Install Armstrong Internet Yourself
Planning for a big move, or just exploring your Internet service provider (ISP) options? Whatever the reason, if you’re planning to switch to Armstrong Internet, you may be eligible for self-installation. If you are, Armstrong will ship you a kit so you can get your Internet connection established on your timeline, without waiting around on a service technician. Here’s everything you need to know to get your Armstrong Internet set up, step by step.
Get Connected
Enter the address where you'd like your Internet service.
Before You Get Started
Self-installation is available for many Armstrong customers, but not all. You’re more likely to be eligible if you’re looking to upgrade your modem or complete a whole-home WiFi setup. However, self-installation isn’t guaranteed for every address. Armstrong is a regional provider operating its own local network, so a brand-new service to a home that hasn’t had an Armstrong connection before may still require a technician visit to confirm and connect the outside line.
Please be aware that Armstrong clearly states that not every customer is eligible for self-installation, so it’s worth confirming with Armstrong when you order whether your address and setup will qualify.
What’s in the Armstrong Self-Install Kit
If you’re eligible for self-installation, your kit will ship with all the elements you need to get started:
- Modem: This is included at no extra cost with your plan. Most models also double as your Wi-Fi router.
- Coax cable: Connects your modem to the wall outlet.
- Power cord: Supplies power to your modem.
- Quick start guide: Printed setup instructions.
If you’ve added Armstrong’s Enhanced WiFi (whole-home coverage powered by Plume), your kit will also include one or more WiFi pods, an Ethernet cable, and a power supply for each pod. Enhanced Wi-Fi equipment ships separately and usually arrives within five to seven business days from the time you order.
What You’ll Need to Supply to DIY
As long as you’re eligible for self-installation, Armstrong will supply all of the equipment you need for setup. But there are still a few things you’ll want to have ready before you get started:
- A working coax outlet near where you’ll place your modem.
- A nearby electrical outlet or two if you’re also installing WiFi pods.
- A smartphone or computer to complete your activation.
- The email address and password you set up when you placed your order, if you’re activating Enhanced WiFi.
Confirm Your Setup Readiness
A basic modem self-install usually takes about 15-20 minutes. Place your modem in a central spot that is at a good distance from walls, water, electronics, and other obstacles that can get in the way of a strong signal.
Larger homes with multiple levels may benefit most from the Enhanced WiFi add-on rather than relying on the modem’s built-in WiFi alone. If you’re setting up Enhanced WiFi pods, plan for a few extra minutes per pod and place each one on an inside wall, away from any obstructions. Pods should be no more than 30 feet apart for the best coverage.
Your Installation Options
While Armstrong may lean more toward technician installation than other providers, eligible households still have a choice in how they want their Internet service set up.
Self-Install
Self-installation is a convenient option for existing Armstrong customers looking to upgrade their modem or add whole-home WiFi. It can save you from waiting around for an appointment and allow you to make upgrades on a schedule that suits you. The downside is that self-install isn’t available to everyone, especially those whose homes are new to the Armstrong network.
Professional Installation
A technician visit is the standard path for new service to a home that hasn’t had an Armstrong connection before, since it typically requires running or verifying a physical line to your house. It’s also worth choosing if you’re bundling phone or an alarm system alongside Internet, or if you’d simply rather have someone else handle the setup. You’ll need to schedule around an appointment window, but you’ll also get the peace of mind of having a technician confirm everything works correctly right from the start.
How to Install Armstrong Internet
These are the main steps you’ll follow to set up Armstrong’s standard modem. If you’re also installing Enhanced WiFi pods, complete these steps first, then continue with pod setup.
-
Step 1: Connect Your Coaxial Cable
-
Step 2: Power on Your Modem
-
Step 3: Connect Your Router
-
Step 4: Activate Your Service
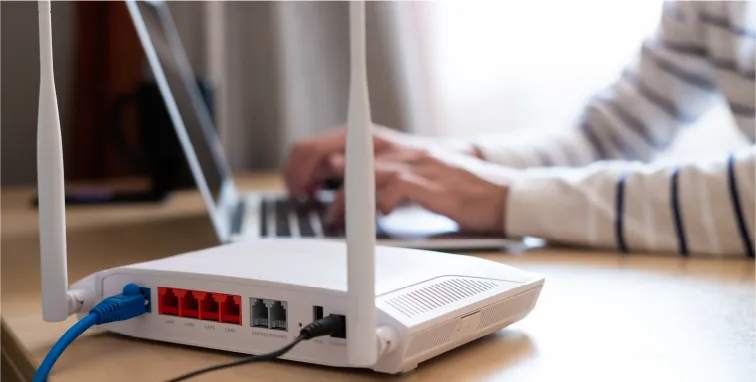
Step 1: Connect Your Coaxial Cable
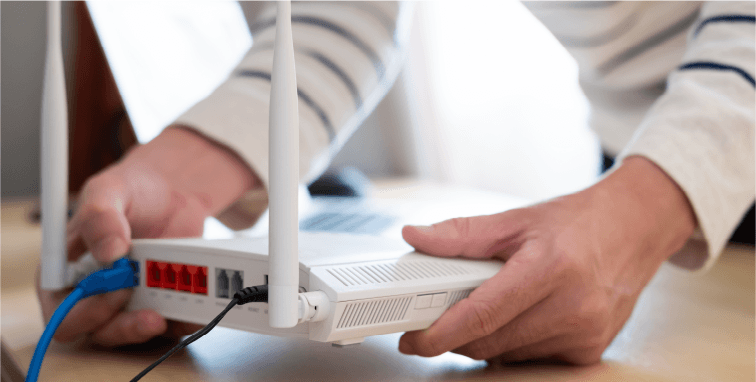
Step 2: Power on Your Modem
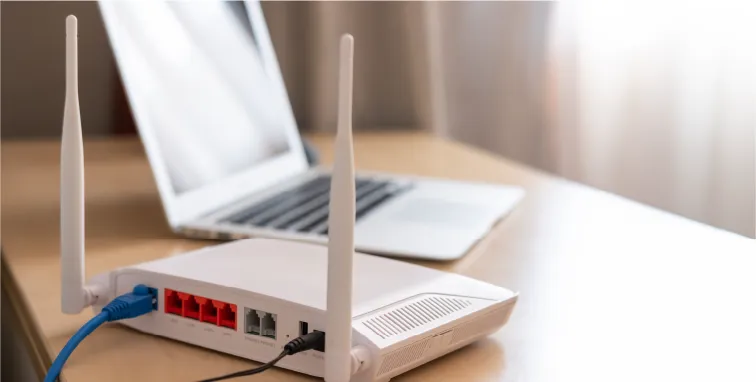
Step 3: Connect Your Router
Step 4: Activate Your Service

How to Set Up Your Armstrong WiFi Network
Once your modem is active, connecting your home network only takes a few simple steps:
Find your WiFi name and password

Connect your devices
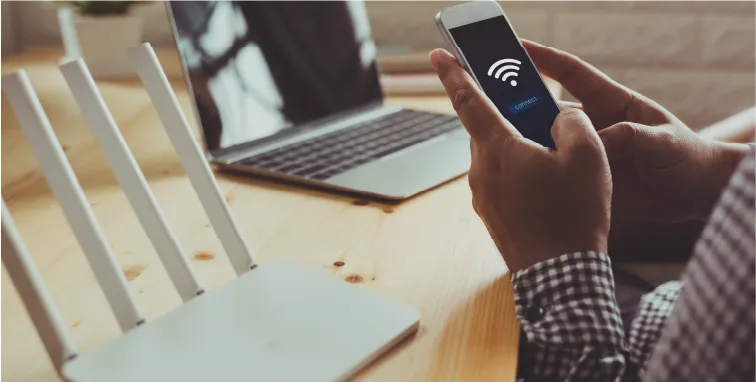
Customize your network settings

Setting Up Armstrong TV Service? Here’s How
Armstrong’s EXP TV service runs on a streaming box rather than a traditional cable receiver, so setup is entirely HDMI- and WiFi-based.
Connect Your Receiver
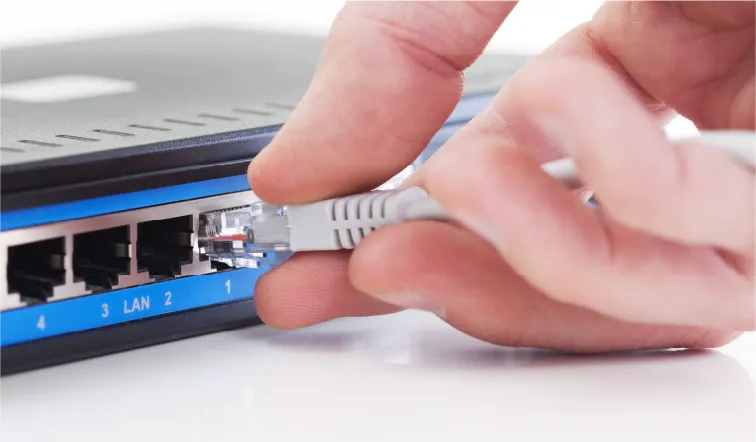
Activate Your Receiver
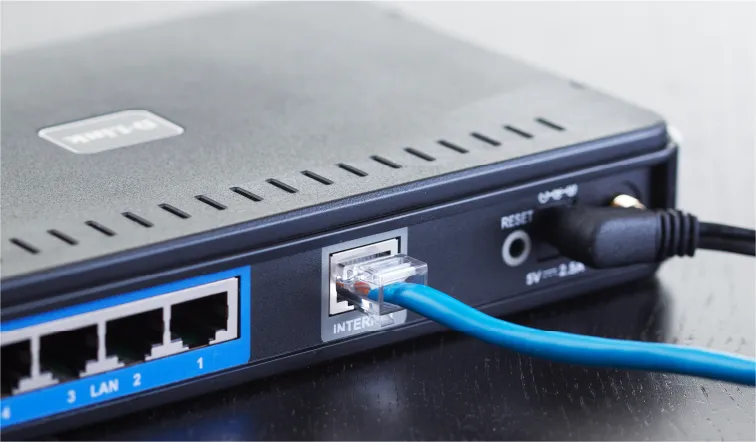
Troubleshooting Common Installation Issues
Armstrong’s self-installation kit is designed to get you online without a technician, but here are a few common fixes if something doesn’t go to plan:
| Issue | What to Try |
|---|---|
| Gateway won’t connect | Make sure the coax cable is tightly connected at both the modem and the wall outlet. If the arrow lights are flashing blue, your modem is still updating, which can take up to 20 minutes. Only unplug and restart after that time has elapsed with no progress. |
| No Wi-Fi network showing up | For a basic modem, confirm the lights are solid. For Enhanced Wi-Fi, make sure each pod’s light has turned off (meaning it’s online) and that pods are placed on inside walls, away from obstructions, and no more than 30 feet apart. |
| Activation isn’t completing | If you’re setting up Enhanced WiFi, make sure you’re signing into HomePass with the email tied to your original order rather than creating a new account. If activation still won’t complete, contact Armstrong support. |
| Slow speed after installation | Move your modem or pods away from walls, electronics, and other WiFi networks that could cause interference. Run a speed test to confirm you’re getting the speeds included in your plan. |
Managing Your Armstrong Account After Installation
Once you’re up and running, download the Armstrong app to manage your account, troubleshoot equipment, and keep an eye on your services. Double-check that your plan and installed equipment match what you signed up for, and watch for your first bill to confirm everything is accurate. If you decide to upgrade, downgrade, or cancel service down the road, be sure to return any leased equipment, since unreturned equipment can result in additional charges.
Armstrong Installation FAQs
Armstrong serves communities across six states: Kentucky, Maryland, New York, Ohio, Pennsylvania, and West Virginia. Check availability at your address to see current plans near you.
Armstrong includes a modem at no additional cost with every Internet plan, and its self-install process is built around this Armstrong-approved equipment. Support for customer-owned modems is more limited than with larger national providers, so it’s worth checking with Armstrong directly if you’re hoping to bring your own device.
Armstrong offers 24/7 customer support. You can browse support topics for DIY solutions, or you can contact Armstrong directly via phone, live chat, or through their app.